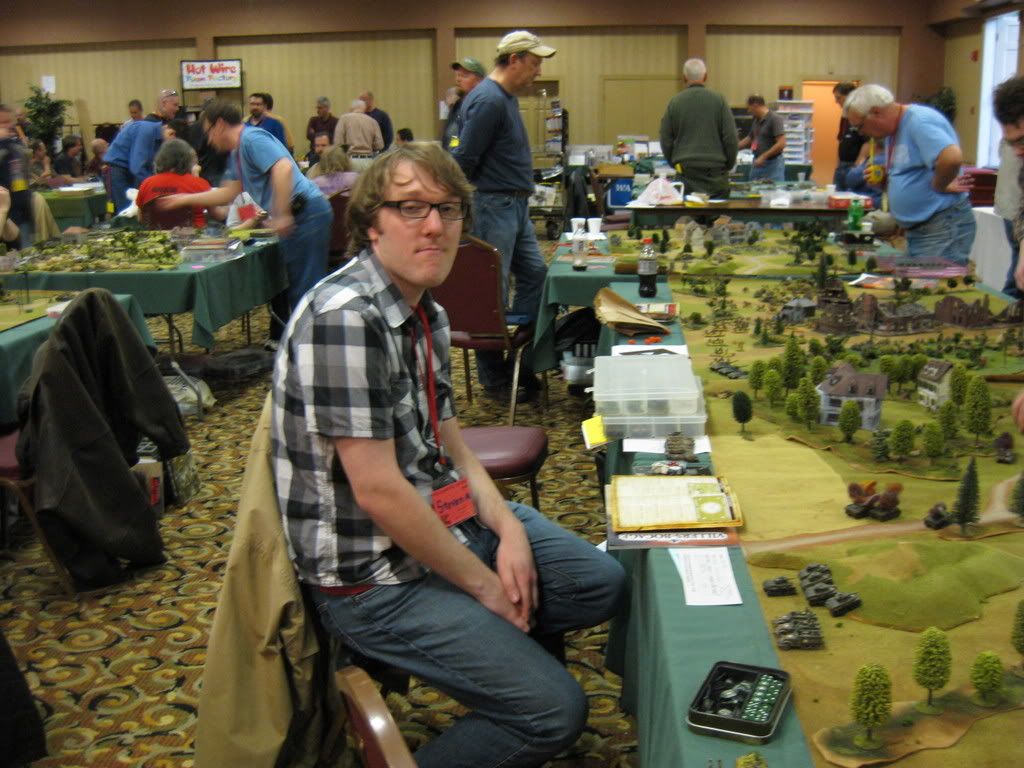
In this article we will explore my general philosophy and then delve into the basics of deployment, which won't take as long to explain as movement, shooting, and assaulting (although its importance is no less critical to victory than any of those phases).

"Which table quarter should we choose?"
It took a while for me to really progress as a FoW player. After learning the basics in V2 I promptly stopped playing during grad school, when I focused all of my energies on working during the day and on weekends and then attending classes at night. When I came back at the tail-end of V2 I had to re-absorb a lot of the nuances of the game, and then re-learn it all over again with V3. Frankly, I was stagnating for a while, and was hardly doing anything more than lining my figures across the board and moving in straight lines.
Two factors began to make a difference: the first was my innate competitiveness. I wanted to learn how to become a better player and hobbyist in general, and so I studied what others in the game were doing. Critical to this effort was the WWPD crew. Their battle reports, podcasts, and enthusiasm for the game really helped spur my development as a hobbyist.
It all started with this genius...
The second major breakthrough was understanding the math involved in the game. Eric Riha's articles should be required reading for anyone looking to progress as a FoW player, and as a gamer in general. I promise you that he makes the math easy to understand, and you can begin applying it to your gaming right away.
These paragraphs are a short way of explaining how I arrived at my general philosophy; the guiding principle with which I play the game - and here it is...
Each phase of the game increases the level of randomness that will affect the player. For some of you this is obvious, but I meet a lot of players who haven't experienced this realization.
Think about it: in deployment, except when you're rolling for attacker/defender, you are in complete control of your army. In the movement step you have to unbail, roll bog checks, and occasionally roll for unreliable vehicles. In the shooting step you're rolling dice to hit, your opponent is rolling saves, you're then rolling firepower tests. In assault you're possibly rolling more bog checks, the enemy is rolling defensive fire, you're rolling saves, then rolling to attack, then he counters, and on and on and on...

You see what I mean? Each phase involves an escalating number of die rolls. The key to my success has been understanding and predicting how to best reduce the elements of chance, and put as much of the game as possible under my direct control. So now we will start with the phase that involves the least amount of chance...
Deployment - The key to understanding the high stakes of deployment is this: you only get one chance to get it right each game. You will have multiple opportunities to move, shoot, and assault, but deployment only ever happens once.
Luckily, deployment rarely comes down to chance. Your army composition will usually determine attacker/defender, and in Fair Fight missions both you and you're opponent begin on equal footing. The flip side of this advantage is that you, and you alone, are responsible for mistakes in deployment, and those mistakes can't be easily corrected.

Your slow tanks might be scary, but will be marginalized and used for trophy pictures if deployed incorrectly
There are three big things to pay attention to when deploying your force: Terrain, Victory Conditions, and Turn One Killers.
Terrain: this has been covered ad nauseum (spelling?) in other articles and podcasts, so I'll just repeat the basics. Find the avenues of advance that will benefit your army the most. Infantry will be looking for large areas of cover. Tanks will be looking for clear areas to tread across but that will also allow then to jump from cover to cover. Always be mindful of where the objectives will be placed. Make your opponent's life as difficult as possible by placing the objectives where he doesn't want them.

Generally a poor path of approach, lots of difficult terrain tests
Victory Conditions: Make sure you know when the objectives "go hot". For example: In Breakthrough it won't necessarily do you any good as the attacker to double-time everything over to the objectives on Turn 1, since your opponent has six turns to contest. Likewise, in the Fair Fight and "vertical" defensive missions, you can't just cede an objective to the attacker and wait to muster forces for a counterattack. This will drastically affect your deployment plans since you'll need to know which units have to cover objectives and which units will be able to move around. Again, this is going to depend largely on army composition so I can't give too much specific advice here.
Turn One Killers: This are the units in your army (or your opponent's army) that have the power to do significant damage at the very start of the game. These are the units that can pull off the dreaded "Alpha Strike". Usually it takes a couple of turns to get units into position before the real bloodshed starts, but some units can pounce at the word "go". The common example that I see a lot is Stuarts in Fair Fight missions.
In Fair Fight missions all teams begin the game gone-to-ground, but are not dug-in. I'll give you a scenario that I had a couple of weeks ago. I was against an opponent using trained British 5.5 heavy artillery (yes, it was a Blue vs. Blue mission). Those guns don't have gun shields, and were not dug-in since I had the first turn. My unit of 5 Stuarts, with 5 MG shots each needing 4's to hit, took out those 5.5 guns on Turn 1 because firepower checks weren't needed.
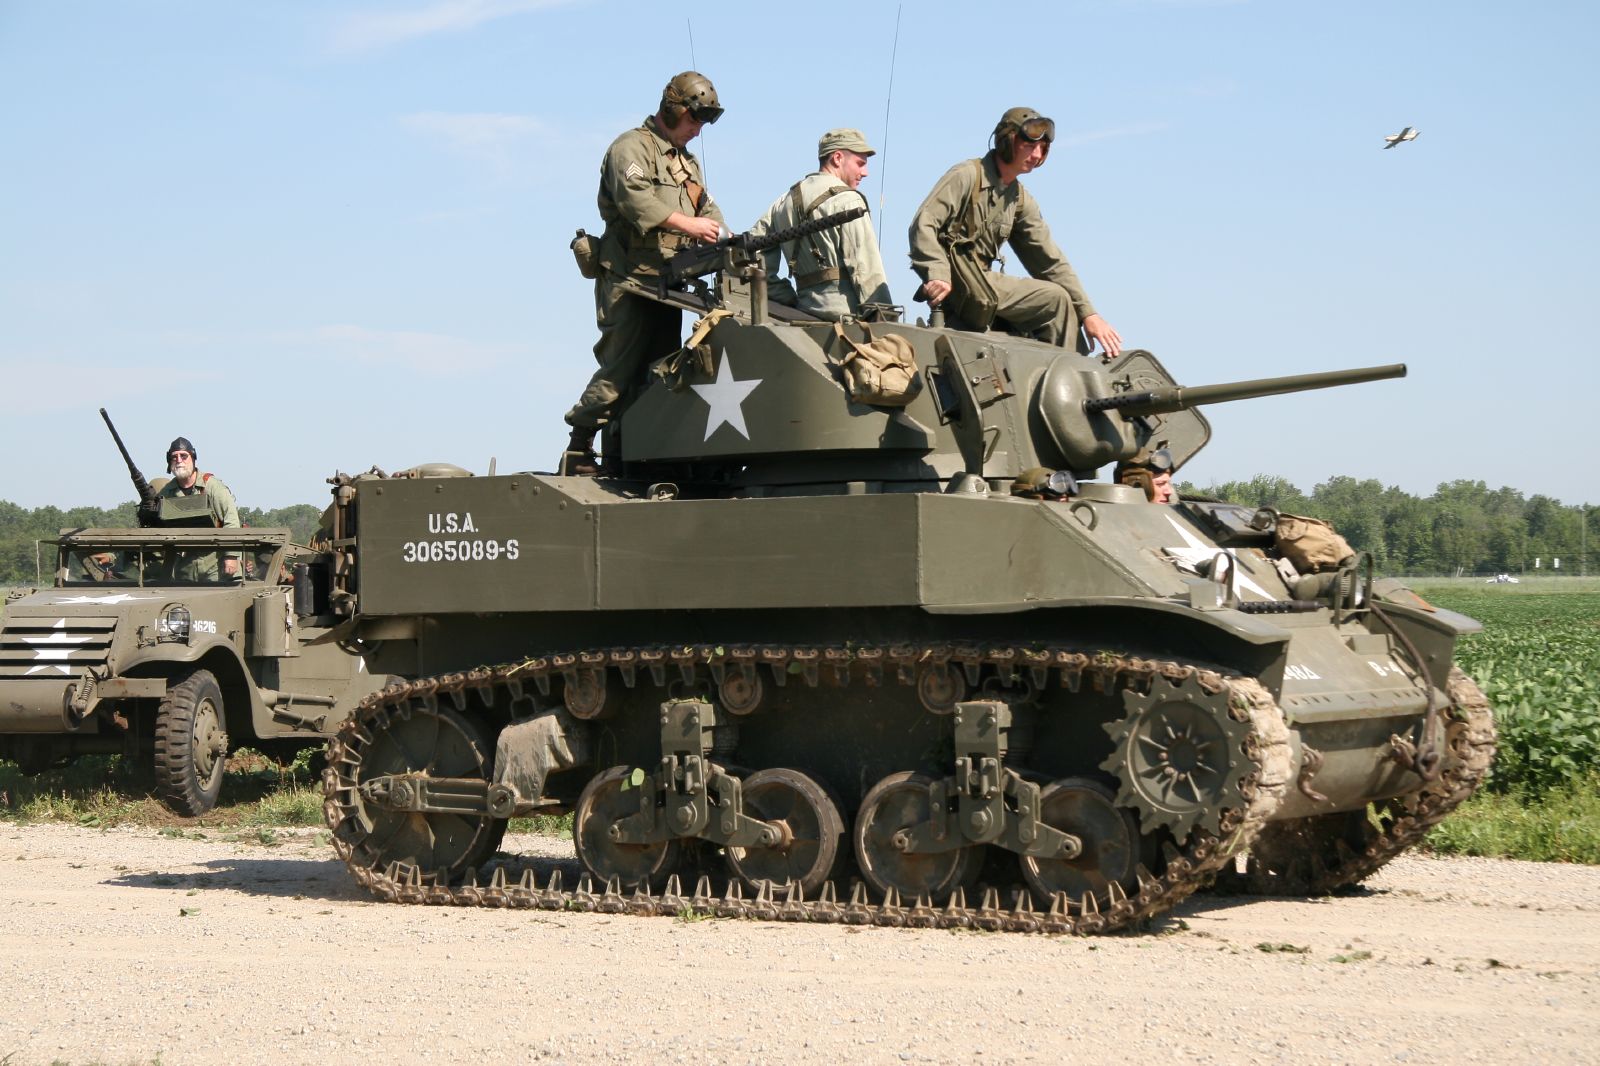
Underestimate these guys at your peril
Another scenario that comes up a lot is the defender deploying too close to the attacker in Breakthough and Counterattack. In each of those missions the attacker can potentially start his recon units close enough to opposing units to lift gone-to-ground on Turn 1. The defender might have deployed what looked like an imposing gun-line, but it won't look so impregnable when the attacker's entire army shoots full RoF at them on Turn 1.
Spearhead can be very powerful, and many of your opponents will rely on it. Luckily it can be fairly easy to stymie, depending on the mission. Just remember that independent teams and warrior teams cannot shut down recon/spearhead moves. I encourage everyone to read the rules for recce moves and spearhead carefully, since I see a lot of people playing it incorrectly. In sum: teams attempting a recce/spearhead move must stop when they come with 16" and LoS of an enemy team, whether they are concealed or not (in this case LoS is all that matters).
One deployment exercise that has helped me in the past is to visualize where I want my army to be by Turn 2. Deployment can be daunting and players can get flustered and make mistakes, but just take a minute to visualize how you want the game to play out.
Obviously every turn phase can have thousands of words written about each and every tactical scenario, but I don't want that to be the goal of these articles. Instead, I hope that this has given you an idea of the overall strategy that I use when considering deployment. In all honesty, I play very mobile armies that allow me to correct deployment mistakes rather easily. Infantry armies are going to struggle with this, so if you're an infantry player I advise you to take just two extra minutes each game to really consider your deployment options.
Practice and planning are the key: luckily this is our hobby, so the practice is awesome!
Follow me on Twitter...it's not hard @piflamesofwar
Awesome article! Thanks for the shoutout :)
ReplyDeleteHey it's true man, you guys really drummed-up my excitement about the game. FYI I didn't mean to just pick on you, I tried to find unflattering photos of Luke and Jon as well but couldn't copy/paste from Twitter
DeleteVery good article, some interesting points... I am sure I probably lose half my games in deployment...
ReplyDeleteIt's sooooooo important, especially for armies that can't move around easily. Practice makes perfect of course but it's still one of the phases I have the most trouble with
DeleteI'll be watching your articles with great interest and have already been back over your 'Tactics' lablled posts... keep up the good work!
Delete