My opponent was very sporting and went along with my request to play Blind Domination, which seems like an awesome mission that I've never been able to convince anyone to play. We were in for a treat, as this would turn into one of the most entertaining battles we had ever played.

The battlefield
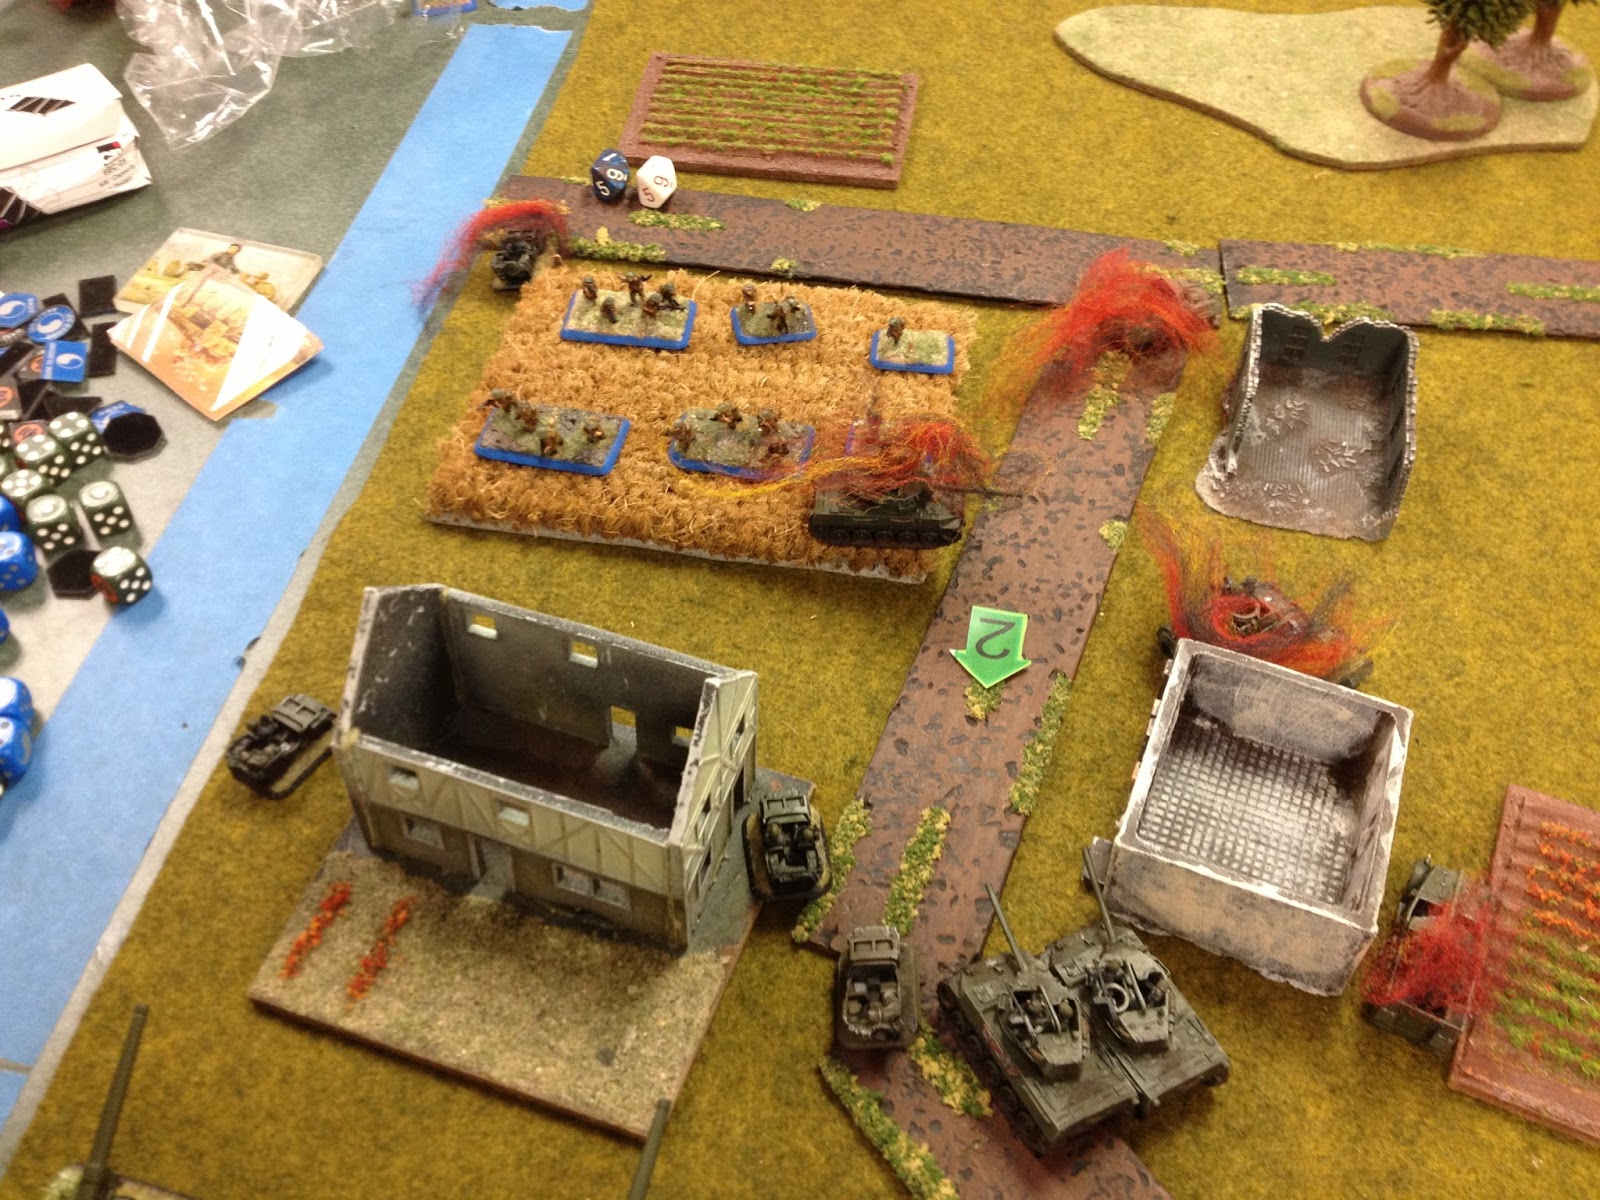
We set up the 12 Domination points with the goal of each army having to secure at least one point from the opposing army's board edge in order to win the game. If you'll look at the above picture:
Each bridge was worth 2 points.
The center of the village in the bottom left was worth 2 points.
The hill overlooking the village in the top right was worth two points.
One-point markers were placed in the top left and bottom right fields.
Having set up the battlefield we prepared our armies for the coming fight. I was running a TD list that prized speed and maneuverability over durability. I wasn't fielding any infantry, and only one vehicle had a front armor greater than 4 (the OP Sherman!). Here was my army:

HQ - 1iC and 2iC in M20 scout cars
4 Hellcats
2 Hellcats
Two patrols of TD Recon (so no mortar jeeps)
4 Stuarts
6 Trained Priests
4 Veteran 155's
Trained AA Halftracks
AOP
Seeing this army reminds me that I have to go back and do my mud effect on the Hellcats and Stuarts, as they were painted before I discovered that method. I really wish Battlefront would post more painting videos since they're a great resource, but apparently the guy doing those is one of their busiest employees in Malaysia so I'm not holding my breath.
My opponent was running a Confident Veteran British Assault Company, slightly different from his past iterations of this army:
HQ
Platoon with PIAT
Platoon with PIAT
2 Commando Sections with PIATs
3 Universal Carriers
3 Trained Crocs
4 Trained M10 Achilles
8-gun Naval Artillery (so single template, re-rolling misses, AT 6 FP 1+)
Next we had to make our orders sheet. In Blind Domination you follow a procedure whereby you pre-assign where troops will enter the table. On Turn 1 your Recce and observers arrive. On Turn 2 you get two platoons plus an independent team. On Turn 3 everything else comes in. There is no moving at the double until Turn 6, and the only special rule used is Meeting Engagement. I forgot to take a picture of my opponent's order sheet, but here is mine:

Forgot to mark my 1iC so I rolled a D6 and got section 5.
With that, it was time to begin.

Another view of the board as my opponent moves the uni. carriers onto the board

One of my recce units arrives and stares down the carriers
Fast forward to the top of turn 3, and my Priests are now staring a lot of AT assets in the face...not ideal.


His naval artillery spotter is on the edge of these woods

The Priests can only bail a M10

And massed .50cal fire only bails two of the carriers. The OP Sherman bogs trying to get into position.

Two Priests fall victim to the M10's...

While the naval arty and Crocs take care of the M20's of one security section
I do the bulk of my damage in Turn 4, when a plethora of targets presented themselves. An M8 greyhound from the recce platoon near the Priests takes down an M10, while the Stuarts kill and bail another. I decide not to combine my batteries and instead drop a Priest bombardment on the already bailed M10 on the hill, which destroys it.

The M8 greyhound from the other recce platoon bags two universal carriers (they failed to disengage) and the .50cal on the OP Sherman takes out the other one.

Finally, a Time-on-Target bombardment from the 155's kill a Croc.

My Turn 4 shooting was pretty devastating, and part of me believed that I just about had this thing wrapped up. As an aside, the 2-team Hellcat platoon completely whiffed on the M10's, so I was very lucky that the rest of my army was there to pick up the slack. However, in true British fashion, my opponent's forces began to slowly but surely whittle down my fragile units, setting up a truly exciting game.

His commandos moved out to exact revenge on the greyhound. They bailed and then assaulted it.

A Croc nabs a Hellcat on an improbable shot! (up on the hill)

The other commando section races ahead to capture the bridge

While the M10 takes down a Stuart

Naval artillery nabs an AA gun

My TD's are forced to pop to counter the threat posed by the commandos
My fire in Turn 5 was ineffective all around, with no commandos falling to massed MG and .50cal fire, the Stuarts completely whiffing on the remaining M10, and a combined artillery bombardment which succeeded only in bailing a Croc and killing one commando team.

Just a bail...
Meanwhile, he was systematically eliminating my units, piece by little piece.

My Sherman had bogged again, and was captured by the commandos

The greyhound falls to a Croc, while a Stuart is bailed by the M10

The other Croc takes a shot downtown and bails a Priest
His naval artillery almost made me pay for careless movement. He had the artillery platoon commander, two hellcats, and an AA gun under the template. Thankfully (for me) he needed three attempts to range in and I rolled a 6 to bail on the only Hellcat that was hit. But the AA platoon was wiped out.


A jeep also fell to the infantry platoon they had shot at last turn, but they passed their platoon morale
Bit by bit I'm coming undone. With only two Priests active I'm forced to smoke the lead Croc. I move the remaining Hellcat from the 2-team platoon to take shots at the M10, while the other Hellcats scurry out of sight.

Smoky smoke

Hellcat does its job, while the MG fire from the Stuarts is ineffective
To be honest, the next couple of turns were a blur as he and I tried to set up our last-ditch efforts. I had a sneaky move where I sent my 2iC on a wild ride to claim the 2 points on the hilltop with the dead M10. My opponent used his Crocs to keep killing the Priests until only one remained. Meanwhile, although his naval artillery failed to damage one of my 155's, they stayed pinned for the rest of the game! So from turns 6-13 the 155's just sat there while the rest of my force held on for dear life!


My opponent tried to move his commandos out to threaten the rear of my Priest battery, but MG fire from the Hellcats and three recce jeeps (all that was left of my two original patrols) knocked them below half, and they fled.

The eagerness of the Crocs to get at my Priests left the side armor of one tank exposed, and I took my shots, killing one of them. The remaining tank crew was made of brave stuff however, and didn't flee.


They move up
Not one stand is killed
A Stuart falls to a PIAT as the infantry advance to set up an assault. The Stuarts pass their morale check to stay in the game, and the platoon fails their tank terror check! In the next turn they would be run off the board my massed MG and .50cal fire.

Over the last couple of turns the remaining Croc killed the last Hellcat of the small platoon, and forced the Priest battery to make yet another platoon morale check when the last remaining Priest was destroyed. Luckily for me they held their nerve.
Unfortunately I was so engrossed in the game that I forgot to take pictures of the end. His 1iC was able to spot on the far Hellcat platoon (for the naval artillery) and despite needing 6's to range in managed to kill both of them, sending that platoon off the board! I was down three platoon out of my 8, and he was taking company morale checks.
My left flank was now held by the always-pinned 155's and three jeeps. Yet once again the recce jeeps came through. Their MG fire didn't just force a morale check, but killed to a man every single team left in that platoon (I think it was four teams at that point). My 2iC, darting around PIAT shots, slowly drained the other Commando platoon to the point where they too failed to stick around.
Eventually, after several successful company morale checks, my opponent failed at the start of turn 14. His remaining teams on the board: 1 Croc, his 1iC, and the naval artillery observer.

The board. The AA gun, Hellcat, and Sherman near the woods should have fire-fluff on them

My right flank

The goats of the game. Pinned for 7 turns.
This game, for me, came down to being able to maneuver MG fire to where I needed it. As for my opponent, his infantry simply could not reach out and touch the mobile elements that were damaging them, and his supporting cast just didn't kill enough of my stuff in time. Each of us had decent dice (I failed one of maybe seven platoon morale checks, although I would have liked my 155's to unpin) and he probably failed half of his platoon morale checks. It's just that I was forcing him to make such checks at an alarming rate.
It was an awesome game. Honestly, I think this is the best, most fun game of Flames of War I've ever played. I encourage everyone to give Blind Domination a try, it puts a crazy twist on deployment, which is already so crucial in Flames of War.
My recce patrols were the MVP's. Between the 170 points for those two patrols they accounted for the universal carriers, an M10, the commando platoon, and another infantry platoon. For my opponent, he named the lone M10 that hung on far longer than it should have as his MVP. It killed two Priests and a Stuart, but more importantly held up an inordinate amount of my resources.
As always, please follow me on Twitter @piflamesofwar
No comments:
Post a Comment