As a final challenge, we would be playing Hold the Line and my opponent's Crocs gave him the Always Attack rule.

The table after some of his Turn 1 movement. One objective is in the woods.
My list was a fairly basic German list, with some cool fluff from the 21. Panzerdivision. I had an HQ of two Panzer IV's, a platoon of four Panzer IV's, a platoon of three Panzer IV's and a captured Firefly, a platoon of two Panzer IV's and a captured Sherman III, Panzerpioneers with a supply truck, two Luftwaffe 88's, two 8-rads, two mobile AA platforms, and Nebelwerfers.
He was running a Confident-Veteran British Assault Company list with two infantry platoons, a commando platoon, four heavy mortars, four 17-pounders, an HMG platoon, three confident-trained Crocodiles, and the 12-gun naval artillery (double-wide template that re-rolls misses and is AT 6 FP 1+). Yikes...
I chose to defend the table half with the most woods and wheat fields. Buildings wouldn't have done me any good against the Crocs. I placed my objective smack in the middle of my deployment zone, so that no matter where he placed his objective I would be able to offer mutual support. I chose to string out three barbed wire stands (pioneer supply truck) to slow down his infantry. I had the pioneers and small Panzer platoon on the table, with the two other Panzer platoons and commanders in ambush. I deployed everything with one goal in mind - hide from the naval artillery!
This basically forced him to move his observer around. He started Turn 1 by double-timing his commandos and really tempting me to spring my ambush behind a hill. Luckily I restrained myself.

This might have been Turn 2
I basically stayed still until Turn 3. He was advancing his observer along with his commandos as an escort. I've never seen such an important observer that needed such a bodyguard, but I was scared to death of his naval artillery. There came a point where he double-timed his observer, and I finally decided to pounce. I moved the smallest panzer platoon to engage the commandos and the observer. Although I pinned the platoon and killed a stand or two, I did not manage to take down the observer (he joined the platoon, as independent teams can, giving him some shelter).


My subsequent stormtrooper move was not enough to get out of sight from one of the 17-pounders, and between those big guns and the main guns from the Crocs the small panzer platoon withered away (apologies for using the short-barreled Panzer IV as a proxy for a long-barreled one).

Seeing an opportunity I popped my first ambush, the non-Firefly platoon with the 2iC, which would hopefully see the commandos run-off. They were just too exposed for me not to engage them. MG fire from the tanks and the panzerpioneer half-tracks (platoon commander moved out to maintain command distance) killed a bunch, and the subsequent assault left but one commando team standing. He would fail his last-man standing test.

Commandos gone, observer running for his life

Situation at Turn 5
He inched his Crocs closer to the pioneers in the woods, but his infantry advance stalled on the wire. His HMG's however were doing a good job blocking an ambush on that flank.

Long-range fire from the Panzer IV's was ineffective against the Crocs, although the arrival of my 8-rads from reserve shored-up the back objective a little bit. On his next turn one of the 8-rads fell victim to the main gun from a Croc.

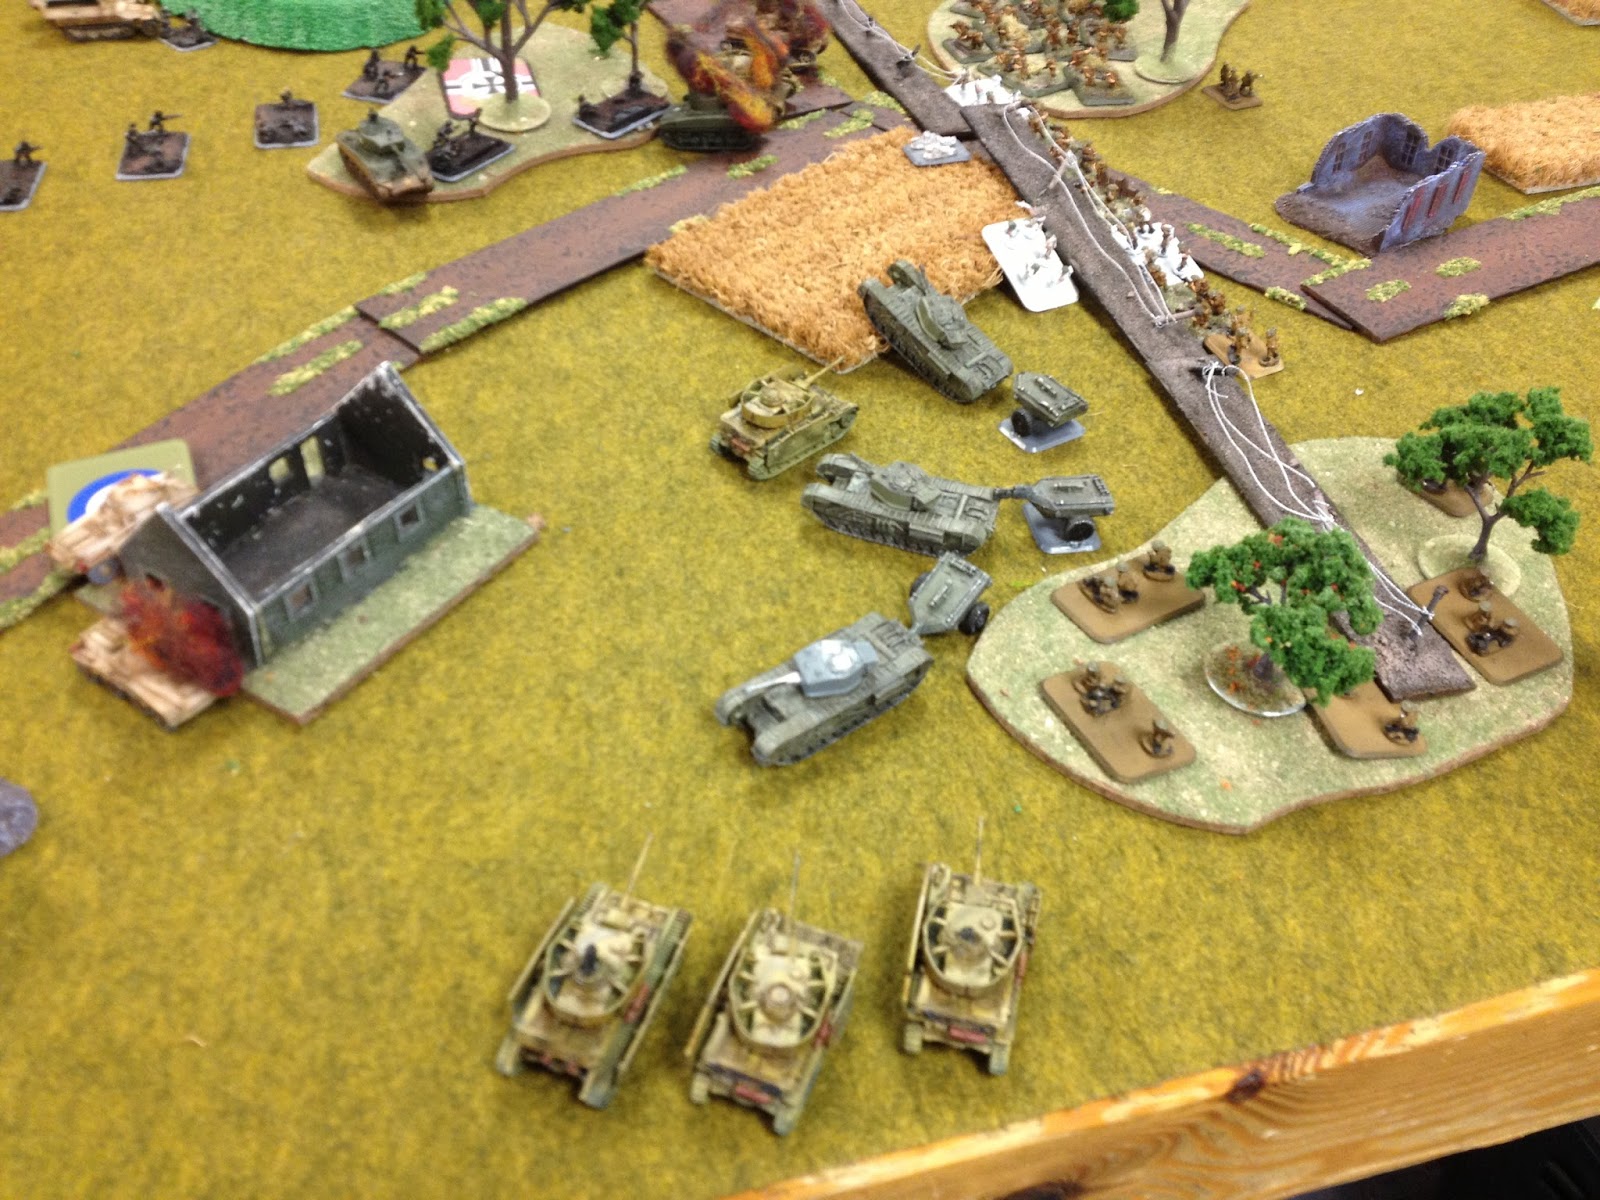
I moved the pioneers away (slightly) from the Crocs, leaving two teams to act as a screen. It was now, around Turn 9, that I felt the time was right to pop my remaining ambush. Taking full advantage of the veterancy of my tankers (8" command distance) I lined up two stationary side shots with the captured Firefly, and moved the other four panzers (including the 1iC) to get side shots on the other Crocs. It was a go-for-broke moment that would probably end up deciding the game.

Boom. Statistically, ignoring bailed results, I should have killed 1.89 Crocs. This time the variance trended higher. After this my opponent had little to throw against my lines, and I slowly whittled him down. The remaining pictures I took were pretty blurry, but they basically just show me killing his HMG platoon and shooting his infantry to hell. Eventually he conceded as there was no way he was going to break through to an objective. 5-2 to the 21. Panzerdivision.
I think what cost my opponent was, in part, his list. His mortars are relatively useless with the other stuff he has in his army. If they'd been replaced with a small, fast recon unit then I would've been forced to spring at least one ambush to cover the back objective, completely altering the game. He also left his commandos strung out on their own. This game also taught me the value of waiting until an opponent has fully committed to a battle plan before springing an ambush.
As always, please follow me on Twitter @piflamesofwar
Nice write up. Big fan of the 21st Panzerdivision. glad to see someone else using it.
ReplyDeleteIs that where your pz4 deployed from ambush ?
ReplyDelete@anonymous I'm assuming you're talking about the last picture: they deployed behind the building out of sight, but with the Firefly in the woods (8" command distance), the Firefly stayed put but the other Panzers had to move out to get side shots. Still, 4 side shots needing 3+? I'll take it
ReplyDelete